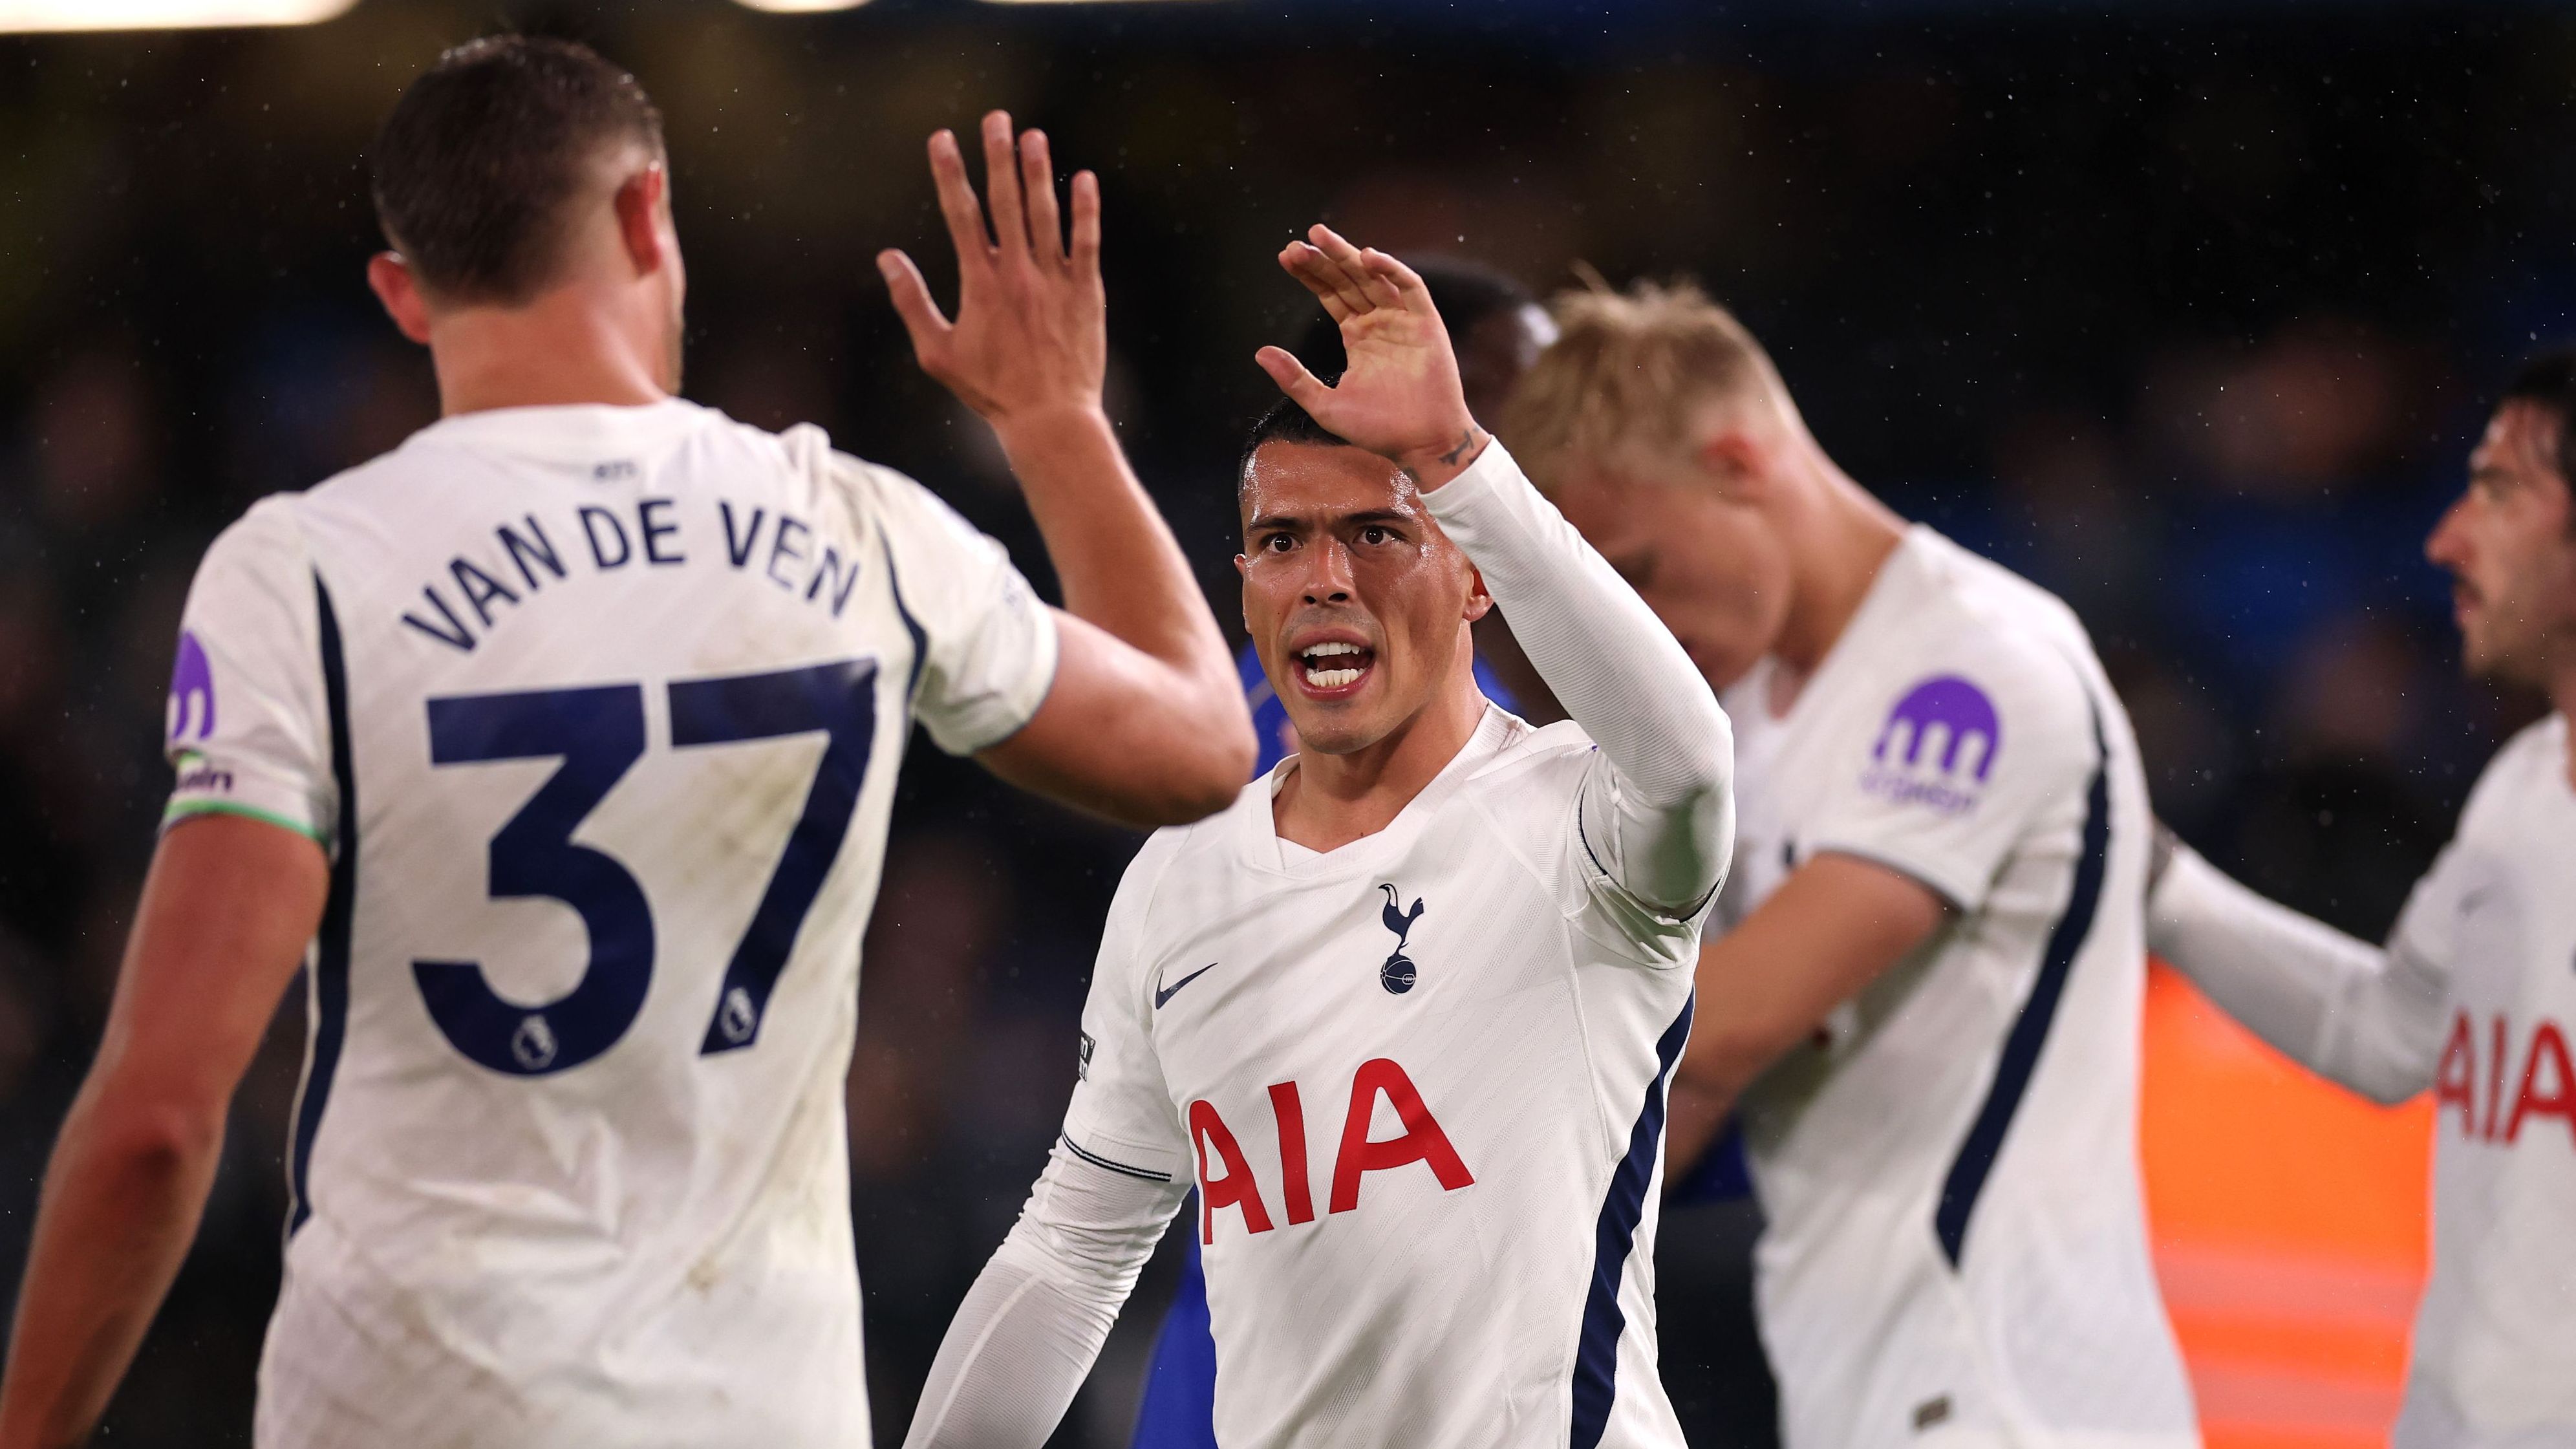

Chelsea vs Tottenham Hotspur: The tactics board - Spurs dominance and discipline exploit the blues at the bridge
Roberto De Zerbi's Tottenham Hotspur secured a commanding 2-0 victory at Stamford Bridge, leveraging superior possession and defensive structure. Despite a goalless first half, Spurs' tactical patience eventually broke a Chelsea side that struggled for rhythm and finished the match with ten men.
The tactical narrative at Stamford Bridge was one of controlled dominance versus reactive frustration. Roberto De Zerbi arrived with a clear mandate to monopolise the ball, seeking to bait Chelsea's press and exploit the spaces behind their wing-backs. By utilizing a fluid build-up and high technical security, Tottenham Hotspur aimed to drain the energy from the home crowd and the opposition, waiting for the structural fatigue that often accompanies low-possession defending.
Xabi Alonso, missing key talisman Joao Pedro, opted for a counter-punching strategy. His Chelsea side focused on mid-block stability and verticality, hoping to catch Spurs in transition. However, the inability to retain the ball for sustained periods - holding just 32% possession - forced the Blues into a defensive marathon that eventually led to a breakdown in discipline and two late, decisive concessions.
Chelsea's tactical setup
Alonso deployed a 3-4-2-1 formation designed to provide horizontal coverage against Spurs' expansive wing play. The defensive trio of Maxence Lacroix, Levi Colwill, and Josh Acheampong was tasked with maintaining a tight line, while wing-backs Pedro Neto and Jorrel Hato were expected to drop into a back five during sustained pressure. The pressing trigger was typically set at the halfway line; Chelsea allowed Tottenham's centre-backs to circulate the ball but attempted to snap into challenges once the ball entered the central corridor occupied by Moises Caicedo.
In possession, Chelsea lacked their usual fluidity. Without Joao Pedro to link play, Cole Palmer and Pedro Neto were often isolated. The build-up play was heavily reliant on long vertical balls towards Morgan Rogers, but Tottenham's high line and aggressive interceptions limited these outlets. The Blues recorded only 287 passes compared to their opponents' 639, illustrating a team that was largely chasing shadows. As the game progressed, the defensive workload took its toll, leading to a loss of composure that culminated in Cole Palmer receiving a second yellow card in the 80th minute, effectively ending any hopes of a tactical recovery.
Tottenham Hotspur's tactical setup
Roberto De Zerbi’s 4-2-3-1 was a masterclass in positional play and patience. The double pivot of Sandro Tonali and Mateus Fernandes provided a secure base, allowing the full-backs to push high and wide. The primary tactical pattern involved baiting the Chelsea wing-backs forward before quickly switching play to the opposite flank. By maintaining 68% possession, Spurs dictated the tempo, forcing Chelsea to shift their entire defensive block repeatedly until gaps appeared in the half-spaces.
The pressing game from Spurs was equally refined. Rather than a chaotic high press, they utilized a coordinated man-oriented system that prevented Chelsea from playing out through Caicedo. When the ball was lost, the immediate counter-press led by James Maddison and Mohammed Kudus ensured Chelsea could not launch effective transitions. This territorial dominance eventually forced the error for the opening goal, an unfortunate own goal by Chelsea goalkeeper Mike Penders in the 77th minute, which was the direct result of sustained pressure and a dangerous delivery into the six-yard box.
The tactical chess match
The defining battle took place in the central midfield. De Zerbi’s decision to play a highly mobile front four - Marmoush, Maddison, Kudus, and Tel - created constant overloads against Chelsea’s midfield duo. While Caicedo worked tirelessly, he was often bypassed as Spurs used third-man runs to penetrate the final third. The mismatch was numerical and physical; Chelsea’s 32% possession meant their midfielders were constantly reacting rather than initiating.
The game-breaking moment was not a tactical shift but a result of cumulative pressure. The own goal by Penders broke Chelsea's resolve, and the subsequent dismissal of Palmer for a second bookable offense left the home side tactically insolvent. De Zerbi’s side remained disciplined, refusing to get drawn into a frantic end-to-end game, and instead used their man advantage to kill the contest through Tel in the 87th minute.
In-game adjustments
De Zerbi was proactive with his substitutions, introducing Conor Gallagher for Maddison early in the second half to add defensive bite and fresh energy to the press. Later, the double introduction of Pedro Porro and Dominic Solanke in the 65th minute shifted the dynamic, giving Spurs a more physical presence in the box and better delivery from the right flank. These changes maintained the high intensity of the Spurs attack just as Chelsea began to tire.
Alonso attempted to counter these moves by bringing on Marco Palestra and Estevao to inject pace into his transitions. However, the tactical plan was disrupted by the disciplinary issues. Following Palmer's red card, Chelsea were forced into a makeshift 4-4-1, which surrendered even more control. The introduction of Danny Welbeck in the 88th minute was a late roll of the dice that came too late to alter a match that had already been tactically won by the visitors' superior ball circulation and numerical superiority in the middle of the park.
Ultimately, Tottenham’s tactical discipline and commitment to their possession-based philosophy wore Chelsea down. By forcing the Blues to defend for two-thirds of the match, De Zerbi ensured that his team was fresher and more composed in the final fifteen minutes. The combination of sustained territorial pressure and the exploitation of Chelsea's disciplinary breakdown allowed Spurs to turn tactical superiority into a concrete 0-2 result, leaving Alonso to rue a lack of offensive output and a midfield that was simply overwhelmed.